When planning a trip, you may receive various confirmation emails for flights, hotels, events, and tours. By importing these emails into TravelPassport, you can keep all your important travel information in one place, making it easily accessible whenever you need it. This guide explains how to save your emails as PDF files and import them into TravelPassport for seamless travel management.
This guide is for Android users. The steps may vary slightly depending on the email app you use, so please check the instructions that match your app. In this guide, we provide examples using “Gmail” and “Microsoft Outlook.”
If you are an iOS user, please refer to the [iOS User Guide].
Importing Emails from Gmail
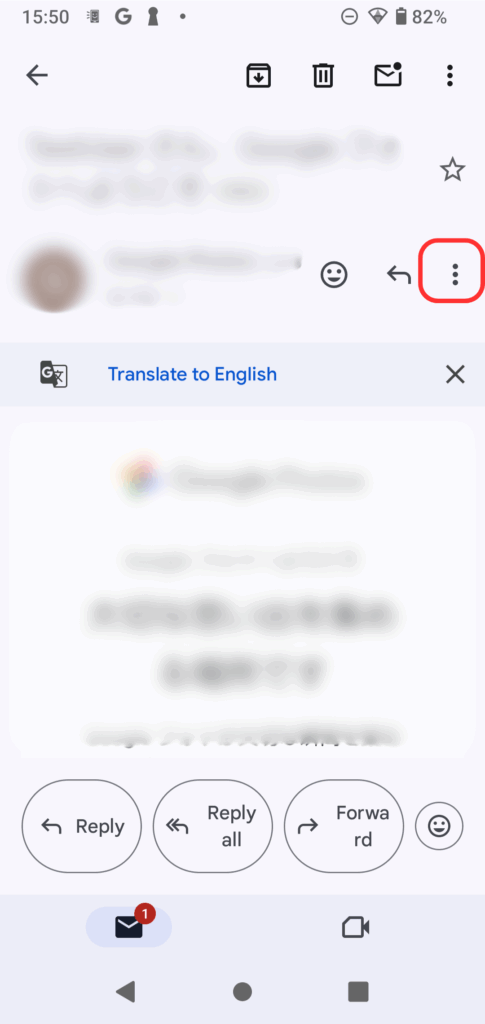
In the Gmail app, open the email you want to import into TravelPassport, such as a travel, event, or reservation email, and tap the vertical “…” button at the top right.
If you see two vertical “…” buttons, please select the one found within the email body.
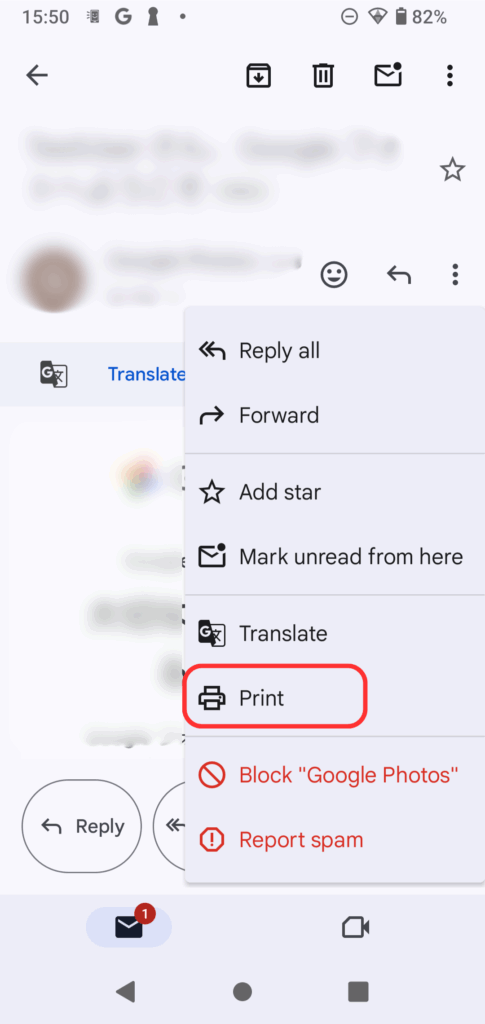
From the menu that appears, tap “Print.”
Then, proceed to “Step 3: Saving the PDF from the Print Screen to Your Smartphone.”
Importing Emails from Microsoft Outlook

In the Microsoft Outlook app for Android, open the email you want to import into TravelPassport and tap the vertical “…” button at the top right.
If you see two vertical “…” buttons, please select the one found within the email body.
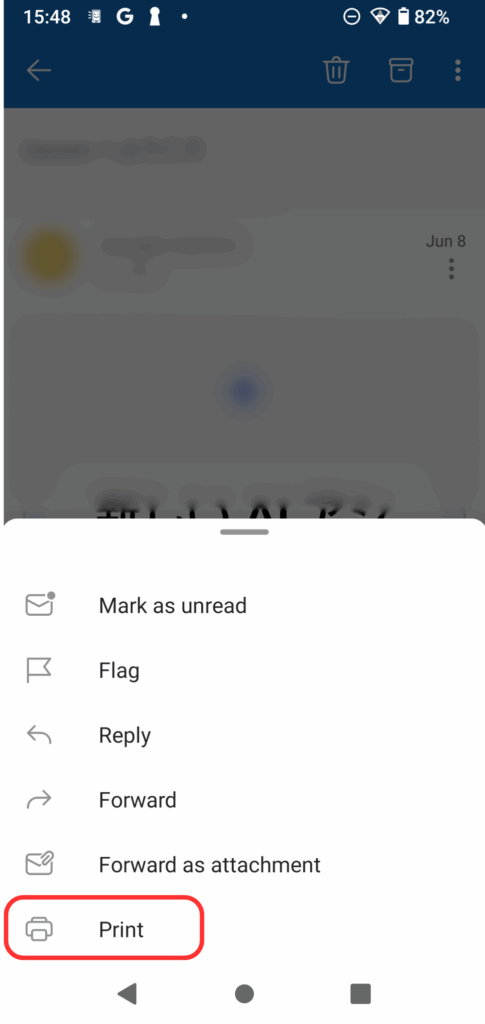
From the menu that appears, tap “Print.”
Then, proceed to “Step 3: Saving the PDF from the Print Screen to Your Smartphone.”
Saving the PDF from the Print Screen to Your Smartphone
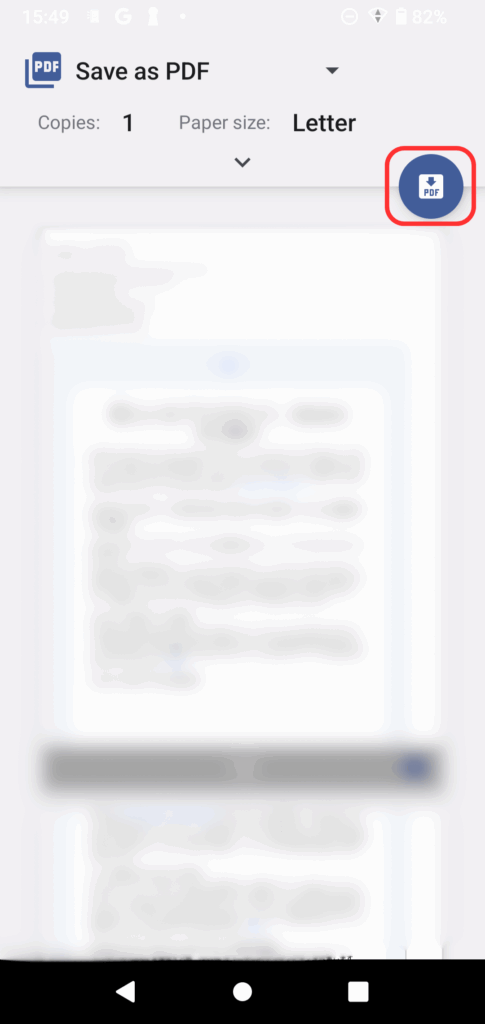
On the print screen that appears, select “Save as PDF” and tap the “PDF” button.
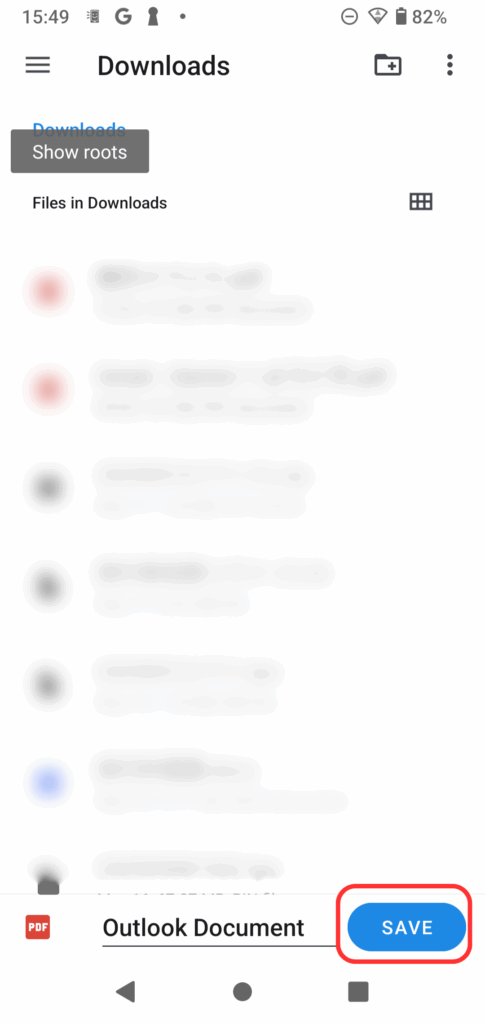
Choose the appropriate folder (for example, the Downloads folder), enter a file name, and tap “Save.”
The PDF file is now saved to your smartphone.
Next, you will import the saved PDF file into TravelPassport.
Importing the PDF File into TravelPassport

Open TravelPassport and tap the “Upload Files” button at the bottom.
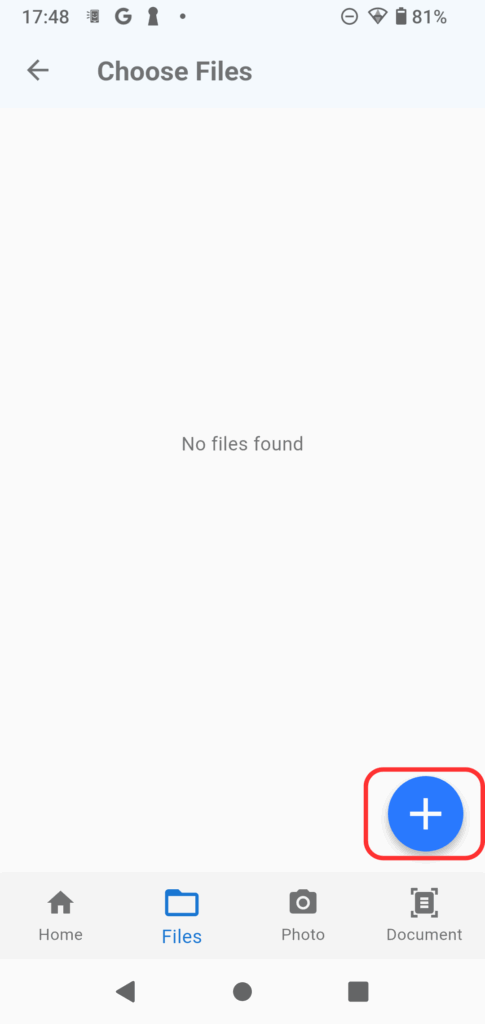
When the file list appears, tap the “+” button at the bottom right.

From the menu that appears, tap “Add File.”
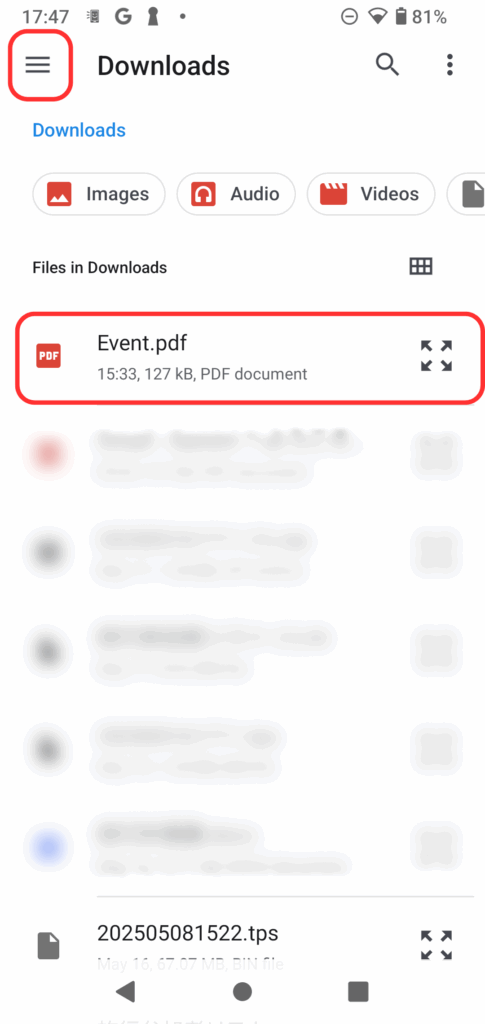
The file selection screen for your phone will appear. Open the folder where you saved the file and select the file you want to import.
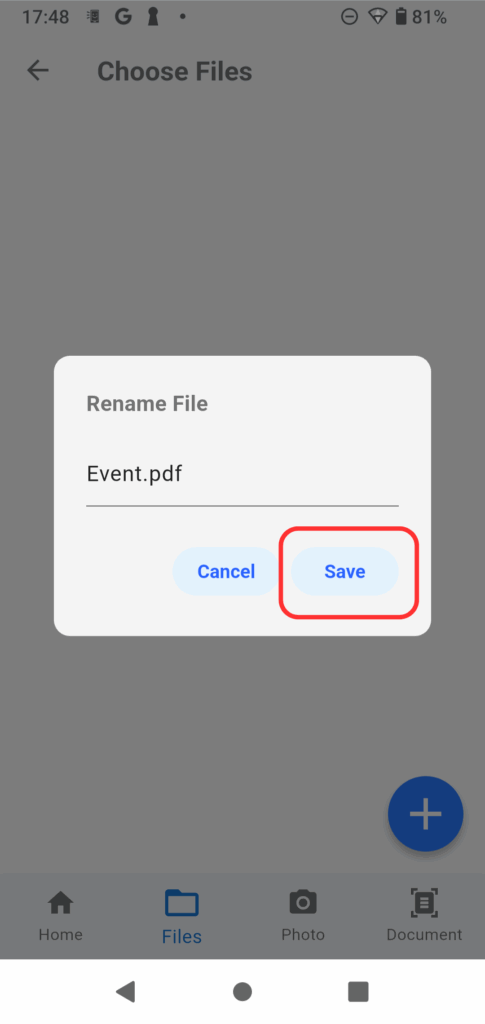
Edit the file name as needed, and tap “Save.”
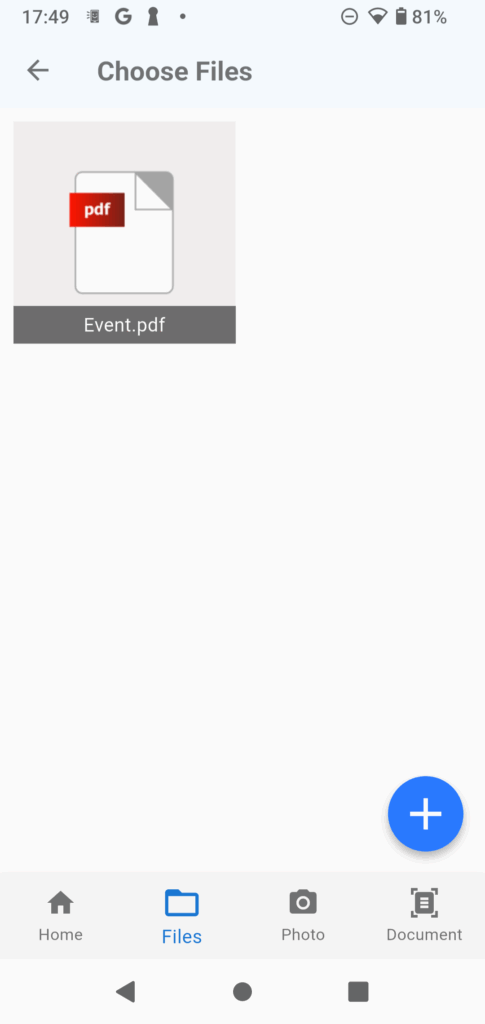
Congratulations! If the PDF file appears in the file list screen, the import was successful.
If you want to delete a registered file, tap the file to display a red ✓, then tap the red trash can button at the top right.
To change the file name, long press the file name to display the edit dialog.
Now you can effortlessly organize all your essential reservation details in TravelPassport. With everything stored in one app, you’ll have peace of mind knowing you can quickly retrieve any necessary information while traveling. Make the most of this method to enjoy a smoother, more organized travel experience!